How to set up a modern terminal for developers
If you're a web developer, you probably spend a whole lot of time in your terminal. But, despite how fundamental terminals are for modern web development, they're incredibly minimal and limited with often quite bad UX.
That's why I've spent no less than a couple of years perfecting this cross-platform guide to improving your terminal experience. And it's what I use every day for both personal and professional projects, so I know it works. It's by no means perfect, but it should be enough to get you started.
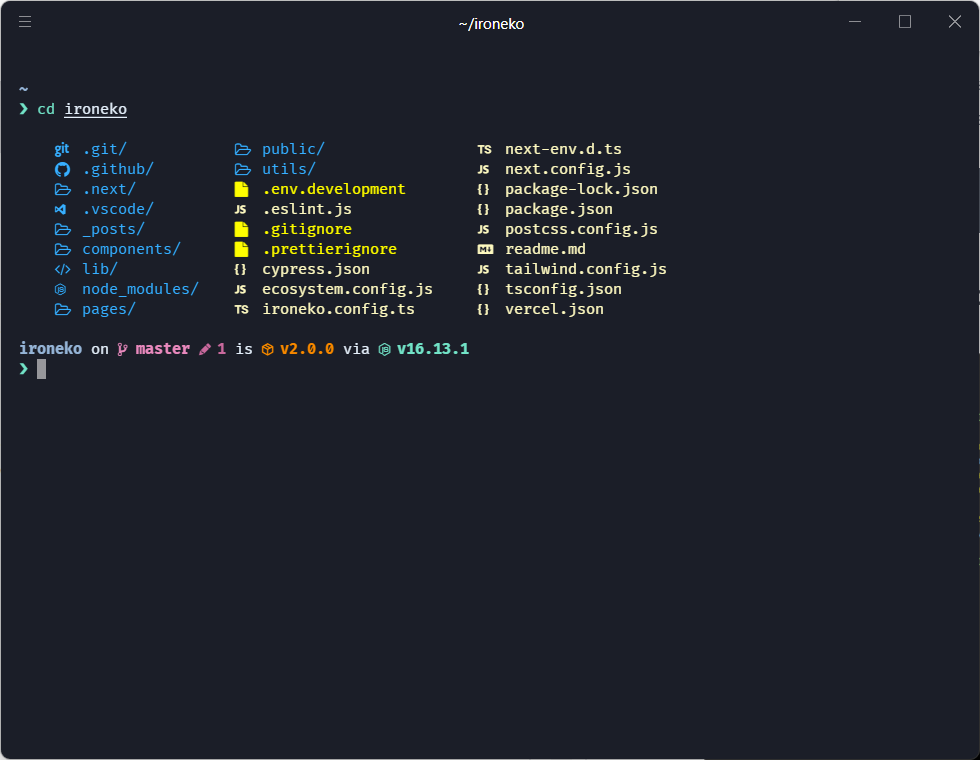
Once you're done, your terminal should look something like this:
This guide has been written specifically with UNIX systems in mind, so if you're on Windows I recommend installing WSL.
Installing ZSH
If you're on Linux, or if you're using WSL, it's likely your terminal uses Bash by default. Don't get me wrong, Bash is, well, fine. However, switching it out for ZSH will give us access to a bunch of functionality as well as plugins and customisation options.
You can find installation instructions for ZSH on the official ZSH git repository. Install the correct one for your OS.
If you're on Mac, you're already using ZSH by default, so you can skip this step entirely.
After installing ZSH, logout and log back in to allow it to complete setup. You might also be met with this configuration screen:
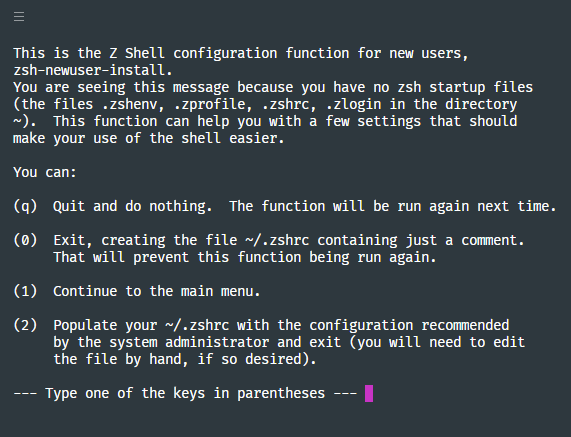
I selected (2) here, which enables some common settings. Once ZSH is initialised you'll notice your prompt looks different. At this point you'll want to move any specific settings from .bashrc to .zshrc.
ZSH will enable some really cool functionality out of the box, such as tabbing auto completion for certain commands like cd, cat, and ls.
This means that after writing those commands, you will be able to press Tab to autocomplete it with files from the folder you're currently in!
Configuration for ZSH will be done in ~/.zshrc. This means if you already have special configuration in your ~/.bashrc (which is likely if you have been using the system for a while) you should copy it into ~/.zshrc. For example I moved my path for NVM:
export NVM_DIR="$HOME/.nvm"
\[ -s "$NVM_DIR/nvm.sh" ] && . "$NVM_DIR/nvm.sh"  # This loads nvm
\[ -s "$NVM_DIR/bash_completion" ] && . "$NVM_DIR/bash_completion"  # This loads nvm bash_completion
Specifically look for lines that add commands to your $PATH, like NVM, NPM, Node, Android Studio and Java.
If any commands that used to work previously don't work after installing ZSH, you probably just need to copy those config lines from ~/.bashrc to ~/.zshrc
Installing oh my zsh
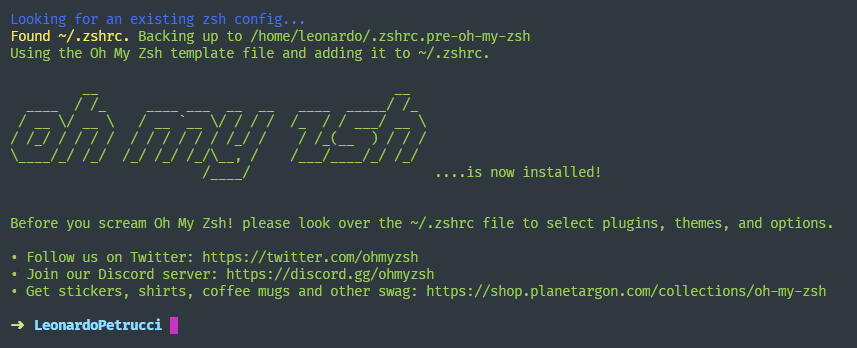
If ZSH is the foundation of a good terminal, oh my zsh is the frame(work) that will make it your home. oh my zsh is a framework that allows installation and management of hundreds of amazing plugins and themes. It's what will put all the extra functionality to our terminal.
You can find instructions on how to install it on oh my zsh's official github repository.
You probably won't notice much difference here, but don't worry, we'll come back to this and install plugins for oh my zsh later in the guide.
Terminal Client
There are dozens of terminal clients out there, and they all do very similar things. It doesn't really matter which one you choose, but make sure that you can change its font. I'd also recommend having a good amount of themes to choose from, but that's up to you.
My recommendation would be Hyper. It's node based, really customisable and it has plenty of nifty plugins and themes.
Themes for Hyper
One of the reasons I like Hyper is because of the incredible amount of themes available for it.
You can check some themes out at the Hyper website. But my personal favorite is the poimandres-theme.
WSL on Windows
If you're planning to use Hyper and WSL together there's some extra configuration you probably want to go through.
Make Hyper boot into WSL by default
Hyper, by default, will boot into the Windows CMD. You can then use the command wsl to boot into WSL. This can get annoying, so if you want to boot directly into WSL you can change Hyper configuration.
Press CTRL+, to open the config file and make sure that shell and shellArgs look like this:
shell: 'C:\\Windows\\System32\\wsl.exe',
shellArgs: [],
Save and exit to apply the settings.
Installing Hyper themes in WSL
Some extra setup is required to install and use themes on WSL. Installing themes is usually done with the Hyper CLI. This means that by running hyper i hyper-pmndrs the theme would be downloaded and installed.
Since you're running WSL however, Linux won't have any access to the hyper command. To fix this run the following command:
echo "\n\nalias hyper="cmd.exe /c hyper" >> ~/.zshrc && source ~/.zshrc
The above will add an alias to make the Hyper CLI work. Once done, try installing your theme of choice again and it should work!
Installing a Nerd Font
Nerd Fonts are monospaced fonts with one big difference: they have been patched to include hundreds of symbols. Installing a nerd font will allow us to customise our terminal even further later on.
Installing a Nerd Font is pretty easy: simply select a font from Nerd Fonts. (I'm currently using Fira Code.)
Don't install a mono version of the font. This will cause some icons to be much smaller than they should be. Mine was called FiraCode Nerd Font.
Windows
Windows requires a specific version of the font. You can identify the correct files since they include Windows in their names. You can search for the following in the extracted folder to save yourself some time:
<font-name> windows ttf -mono
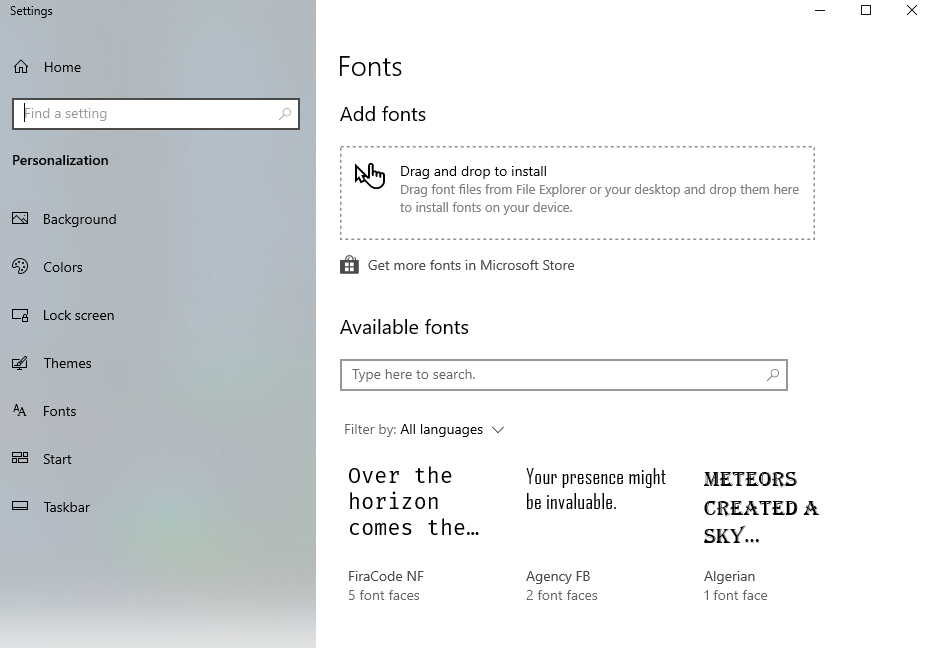
Don't forget Windows also allows you to install batches of fonts at the same time from its settings.
Linux / Mac
Linux and Mac should be able to support either TTF or OTF. I'm unaware of a quick way of installing multiple fonts on both platforms, so you might have to do this the old fashioned way. Sorry!
Setting your Nerd Font to your terminal
Before we go any further, let's actually set the new fonts we've installed so they can be used by our terminal.
I'm going to assume you're currently using Hyper as your terminal, so to change fonts in Hyper you'll need to edit its configuration. With Hyper open press CTRL + , to bring up the config file. If you've done any Javascript development you'll recognise the syntax immediately.
In your config simply find fontFamily and add your new font to the start of the list. The others are all fallbacks in case the previous isn't available. My setting looks something like this:
// font family with optional fallbacks
fontFamily: 'FiraCode NF, "DejaVu Sans Mono", Consolas, "Lucida Console", monospace',
Make sure you use the name of the font as it shows up in your font list! On mac this was FiraCode Nerd Font for me, so just make sure you're writing the correct name.
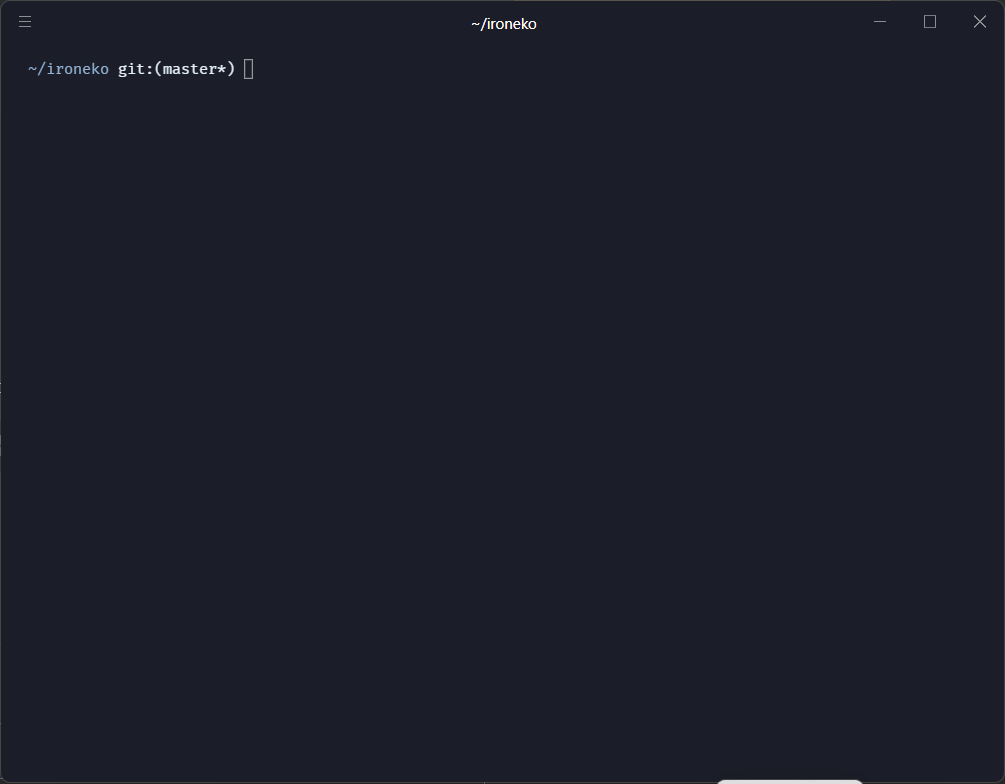
Your terminal window should reload as soon as the config is saved, so you should see the new font immediately.
Improving your prompt with Starship
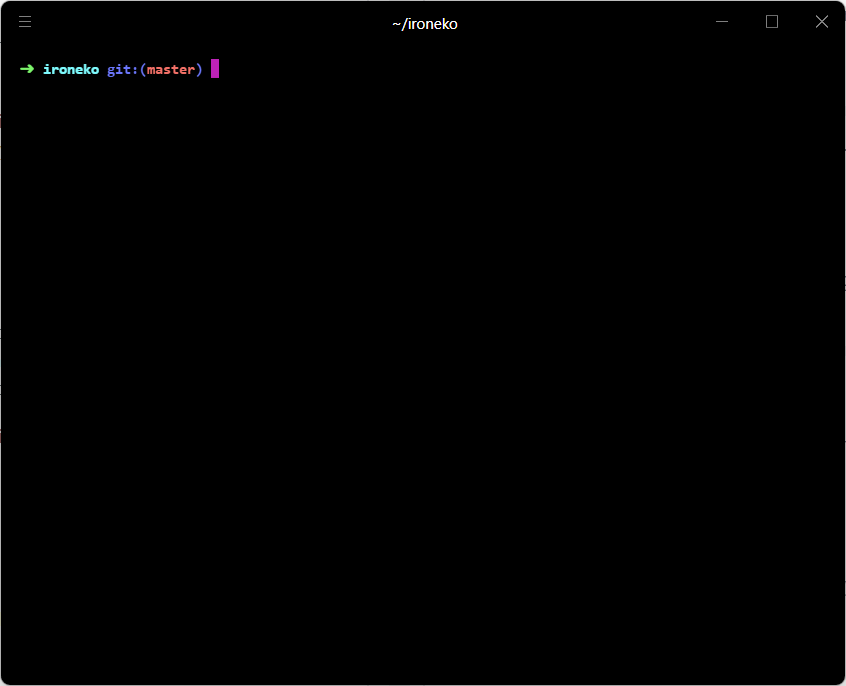
If you've been following along, your prompt will look something like this:
It's okay. We get to know the folder we're currently in and if we're inside a git folder we can also tell which branch we have selected.
But what if we could make this even better? That's where Starship comes in. It adds a bunch of information to your prompt which you can easily customise. There's tons of utilities like Starship out there, so it's really up to you which one you choose. Feel free to shop around and pick your favorite.
All OSs
There's honestly tons of ways to install Starship depending on your OS. So just follow the installation guide on their documentation.
Then, since we're on ZSH, type the following command in your terminal.
echo '\neval "$(starship init zsh)"' >> ~/.zshrc && source ~/.zshrc
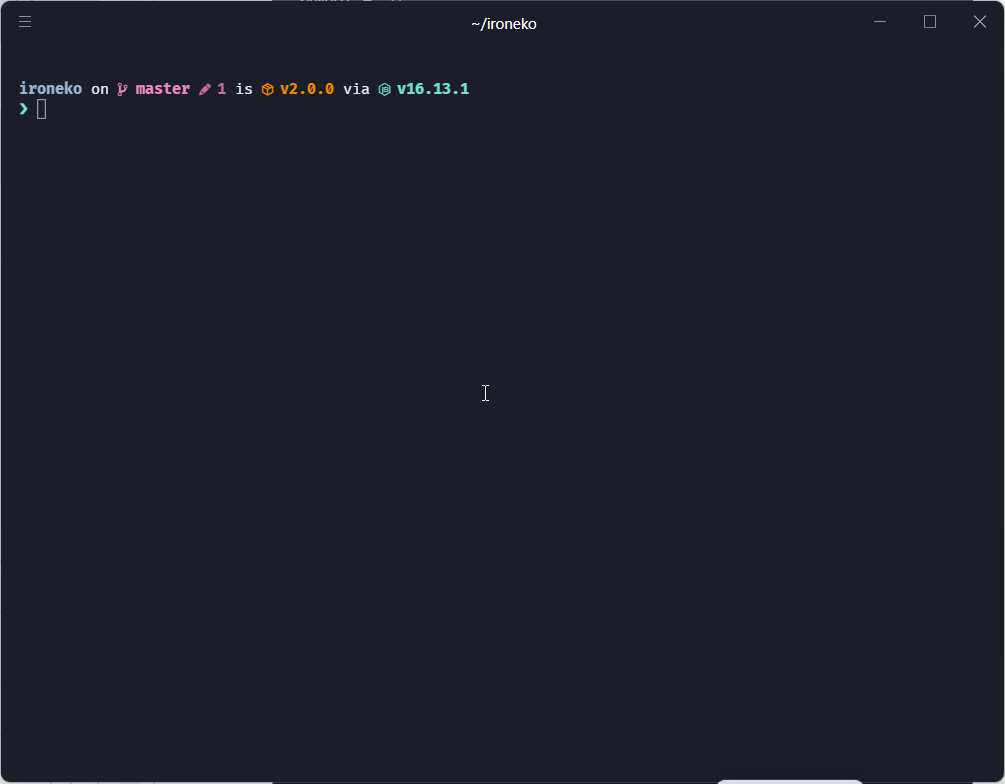
This will tell ZSH to use Starship and then reload the ZSH configuration. If you did everything right you'll see a subtle change in your terminal input to something like this:

Customizing Starship
The great thing about Starship is that it has tons of customisations available. If this sounds interesting to you, run the following command to create a config file:
mkdir -p ~/.config && touch ~/.config/starship.toml
Then run this to start editing it:
nano ~/.config/starship.toml
Since earlier in the tutorial we installed a Nerd Font, I like to make use of it for most symbols. Feel free to change those symbols to Emojis though if that's more of your thing. My current Starship configuration is as follows:
[aws]
symbol = " "
[conda]
symbol = " "
[dart]
symbol = " "
[directory]
read_only = " "
[docker_context]
symbol = " "
[elixir]
symbol = " "
[elm]
symbol = " "
[git_branch]
symbol = " "
[git_status]
format = "[$all_status$ahead_behind]($style)"
ahead = "⇡ $count "
behind = "⇣ $count "
deleted = "🗑 $count "
diverged = " $count "
stashed = "📦 $count "
modified = "פֿ $count "
staged = '[ $count ](green)'
renamed = " $count "
untracked = "🤷 $count "
style = "bold red"
[golang]
symbol = " "
[hg_branch]
symbol = " "
[java]
symbol = " "
[julia]
symbol = " "
[memory_usage]
symbol = " "
[nim]
symbol = " "
[nix_shell]
symbol = " "
[package]
symbol = " "
[perl]
symbol = " "
[php]
symbol = " "
[python]
symbol = " "
[ruby]
symbol = " "
[rust]
symbol = " "
[scala]
symbol = " "
[shlvl]
symbol = " "
[swift]
symbol = "ﯣ "
(Some symbols won't appear here, but they'll work on your machine if you have a Nerd Font enabled.)
Save and exit. The configuration will be automatically applied. Here's how mine looks!
Want more stuff? Can't be bothered testing it out yourself? Dozens of people have posted their configs on gist. You can find a bunch of starship configs with a quick search.
Installing some plugins
There are hundreds of ZSH plugins. Unfortunately I'm not familiar with all of them, but I do have a few trusty plugins that I think are essential, so let's start with those.
Choosing a plugin manager
There are also a bunch of plugin managers to think about. The main difference is how quickly they load/install. Apart from that, they're all much of a muchness. I've found Antibody to be my favorite, but feel free to choose another. The plugins will be the same, the only difference being what we use to install them.
Follow Antibody's installation page, then come back here once you're done.
You might have permission problems while installing Antibody. To fix that you can run -sfL git.io/antibody | sudo sh -s - -b /usr/local/bin to install it.
Once you've installed Antibody we'll do some quick setup to get it working correctly. This command will tell ZSH to load Antibody:
echo "\nsource <(antibody init)" >> ~/.zshrc
With this next command we will:
- Create a
.zsh_plugins.txtfile - Fill it with some of my must-have plugins
- Tell ZSH to load our plugins
touch ~/.zsh_plugins.txt && echo "# Adds autosuggestions \nzsh-users/zsh-autosuggestions \n\n# Adds a customised error when a command isn't found \nohmyzsh/ohmyzsh path:plugins/command-not-found \n\n# Colors our inputs as we type, oooooh \nzsh-users/zsh-syntax-highlighting \n\n# Activates substring search. If you start typing a \n# command and hit up and down, the commands will be \n# filtered to ones that match the string you have \n# already typed. Usage: https://github.com/zsh-users/zsh-history-substring-search#usage \nzsh-users/zsh-history-substring-search" >> ~/.zsh_plugins.txt && echo "\nantibody bundle < ~/.zsh_plugins.txt" >> ~/.zshrc
You can open .zsh_plugins.txt to check out what we've installed. I've kept it fairly limited to things that will directly improve your UX.
Add or remove plugins as you see fit. Then once you're happy with it, run the following command to download and apply them:
source ~/.zshrc
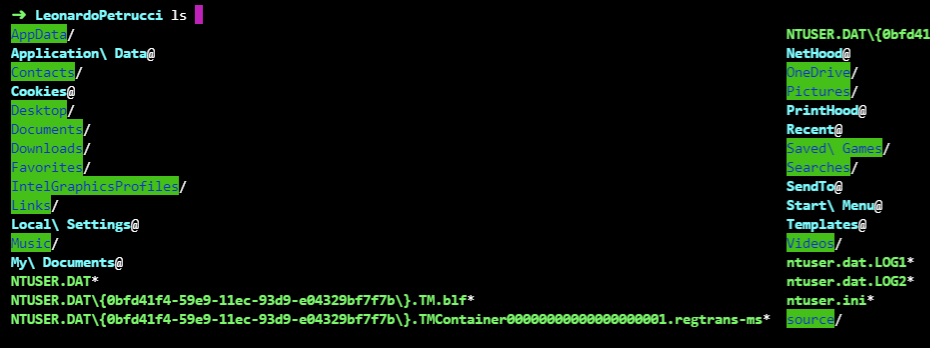
Make your folders prettier with ColorLS
ColorLS is a completely useless addition. It just makes listing files in your folders prettier and easier to skim through. Nonetheless I love the look of it and it's never missing from one of my setups.
Mac
ColorLS needs ruby to be installed. I've previously had problems intalling this on Mac as OSX usually comes with Ruby preinstalled. I don't have ready access to a mac for ease of troubleshooting so be careful trying to install this.
I usually skip it altogether on Mac.
WSL and Linux
Follow the installation instructions on the colorls Github.
If you get an error about 'Not being able to create a makefile', it's likely you're missing build-essential! Check how to install it on your OS!
Once the gem has been installed, run the following command:
echo "alias ls='colorls'" >> ~/.zshrc && echo "\n\n#Automatically runs colorls on cd \ngretzky/auto-color-ls" >> ~/.zsh_plugins.txt && source ~/.zshrc
It will add an alias, so that ls will automatically use colorls as well as adding a great ZSH plugin to automatically list contents of a folder when moving to it with cd!
Extra - Use your new terminal setup in VsCode
VsCode will use Bash as your default shell, so after all that setup you'll probably want to use oh my zsh. People using Linux and Mac shouldn't need to do this, but in case it's not working by default the following steps should fix it for you.
Windows with WSL
To use WSL in VsCode you'll need to install the Remote WSL plugin. This will allow you to set specific projects to be opened in WSL by default. It offers a fantastic integration with WSL with only minimal setup.
All OSs
This is pretty easy! First of all let's find your zsh location by running:
echo $SHELL
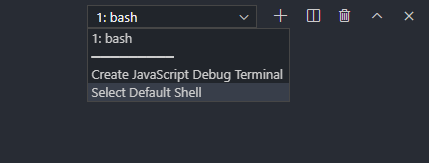
This will output something along the lines of /usr/bin/zsh. Then all you'll have to do is select the little dropdown menu at the top right of your terminal in VsCode and click on "Select Default Shell".
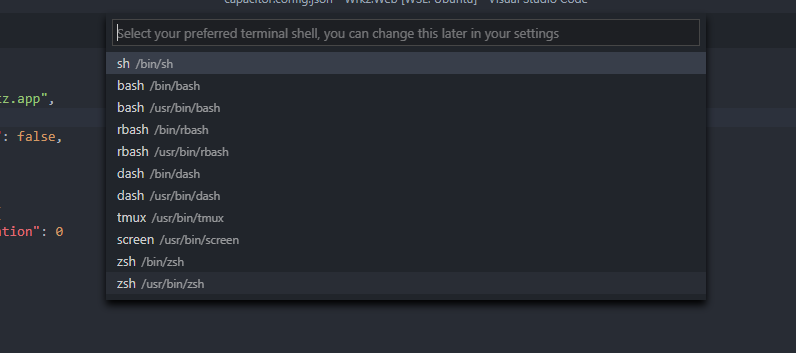
This will then open up another menu where you'll see a list of all the shells available. Simply select the value you got from running echo $SHELL, restart your VsCode and you'll have your beautiful shell ready.
Correctly display a Nerd Font in VsCode
You'll probably have noticed that your extra icons are not displaying correctly.
This is because VsCode uses its own font for the terminal, so the solution is pretty simple: edit VsCode's settings. Navigate to the settings menu from "File > Preferences > Settings", then search for "terminal font". You should see this setting:

Simply write in the same value you used for the Hyper terminal settings. In my case it was FiraCode NF. As soon as you change the value, the font should also change in the terminal and show your icons!
Conclusion
There's a lot of paths one can take when customising your terminal and all of them are right. This is just my personal one, but it's always open to improvements! So please feel free to suggest any you may have in the comments 😊